


Do you ever get tired of staring at the same dull blue screen day in and day out? TAC has taken the liberty of showing you how you can enhance your different NetSuite environments using features in general preferences. In this article, TAC will review some key features that can greatly benefit user experience. Some of these NetSuite customizations include Color Themes, Screen Fonts, Chart Themes, Signatures, and the benefits of using a customized center. We’ll explore how these options can enhance your unique NetSuite environment as well as help users differentiate environments.
NetSuite Customization & Personalization
In general preferences, you have many options for customizing your environment to your liking. Here you will find a quick tutorial on customizing your color theme and font which allows you to showcase your individuality and identify your environments easier. In set preferences, any changes made only affect your NetSuite login, so feel free to play around with different options.
Color Themes
Color themes significantly impact the visual appeal of your NetSuite interface and contribute to a more enjoyable user experience. A great use of NetSuite customization is using different color themes when switching between multiple NetSuite environments. Differentiating colors can make it easier to recognize which environment you are working in at any given time. By setting distinct colors for your production and sandbox environments, you can reduce the risk of confusion when switching back and forth. Best practice is to set your production environment as a different color than your sandbox environments.
To set your preferred color theme, follow these steps:
- Navigate to the Home icon on the very left of your center tabs. Select the Set Preference dropdown.
- Click on the Appearance Subtab, to the left of the General tab.
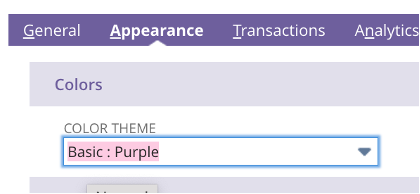
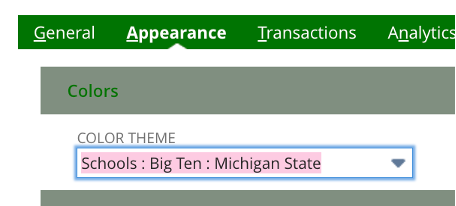
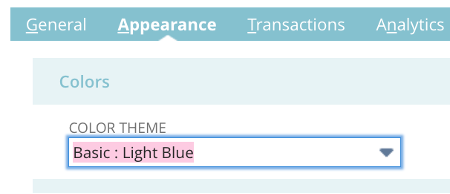
- Once there, you will see the Color Theme field, under the Colors section of the page. Click the dropdown menu to explore the many available color themes.
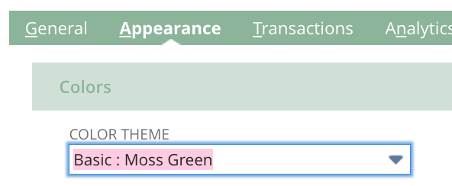
- Standard NetSuite comes with 11 basic color options. There are three different editions of NetSuite, and each one comes with different additional color sets.
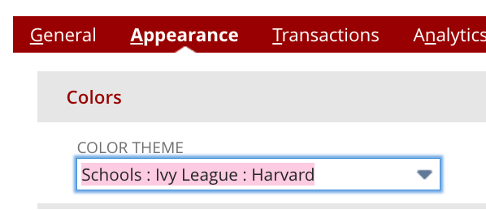
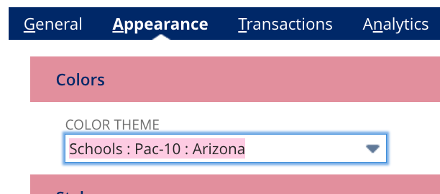
- US Edition: This edition offers color themes for schools, including numerous colleges and universities organized by conferences such as Ivy League, Big West, Pac-10, SEC, and many more. This adds a touch of school spirit to your NetSuite experience.
- Canadian Edition: If you’re a hockey fan, you’re in luck. The Canadian edition features color themes for National Hockey League (NHL) teams, allowing you to support your favorite team while you work.
- UK Edition: For fans of the Premier League, the UK edition provides color themes dedicated to Premier League clubs.
Below are some examples of both standard Netsuite Basic color themes and the US Edition School color themes. NetSuite does not have a way for users to preview colors, so finding the right one might take some trial and error.


- Save Your Preferences: After selecting your preferred color theme, make sure to click save at the top of the bottom of the page. The page will refresh, and you will be able to view the new theme selected.
By customizing your color theme, you can make your NetSuite interface not only more visually appealing but also more comfortable to work with on a day-to-day basis when switching between multiple environments. It’s another way to personalize your NetSuite experience and enhance the system environment with your own unique preferences.
Classic Center Vs User Centers
Different centers can make a huge difference in users’ NetSuite experience. The classic center is the default set of pages seen by the administrator and payroll setup roles. But, while this center is excellent for fast navigation for any record in Netsuite, it might take a more seasoned user to fully know the classic center. In the classic center, tabs are expansive and navigation can be tricky for users who are new to NetSuite. This can be solved by creating simplified user centers based on their role at the company. Creating simple role-based centers that prioritize tabs and pathways that users use most will streamline efficiency and greatly enhance user experience.
Screen Fonts
Font styles can also make a major impact on your NetSuite user experience. NetSuite’s screen font option allows users to change the font throughout the entire system. This is done per user, therefore changing the screen font will only affect your environment and will not change for anyone else using NetSuite. Your font choice applies only to your current role and affects the text on your pages, not forms or your website.
- Navigate to the Home icon and select the Set Preference dropdown.
- Click on the Appearance Subtab Once there, you will see the Screen Font field.
- Click the dropdown menu to explore the available screen fonts.
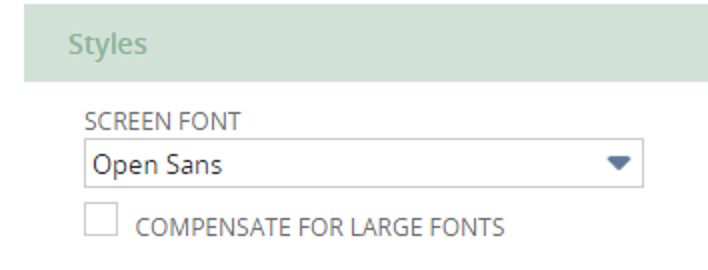
NetSuite’s default font selection is Open Sans. Please note that adjustments to font size cannot be made within these settings. To modify text size within NetSuite, users will need to utilize their browser’s zoom controls.
NetSuite User Profile
Customizing your user profile is a great way to make sending emails through the system not only more efficient but also enhances professionalism by maintaining consistency for clients, colleagues, and shareholders. Below TAC will show you how to achieve this through signatures. If you need help preventing emails from being blocked or marked as spam visit our article on DKIM (DomainKeys Identified Mail).
Adding a Signature
- Navigate to the home icon on the left side of your center tabs.
- Click on the Set Preferences drop-down.
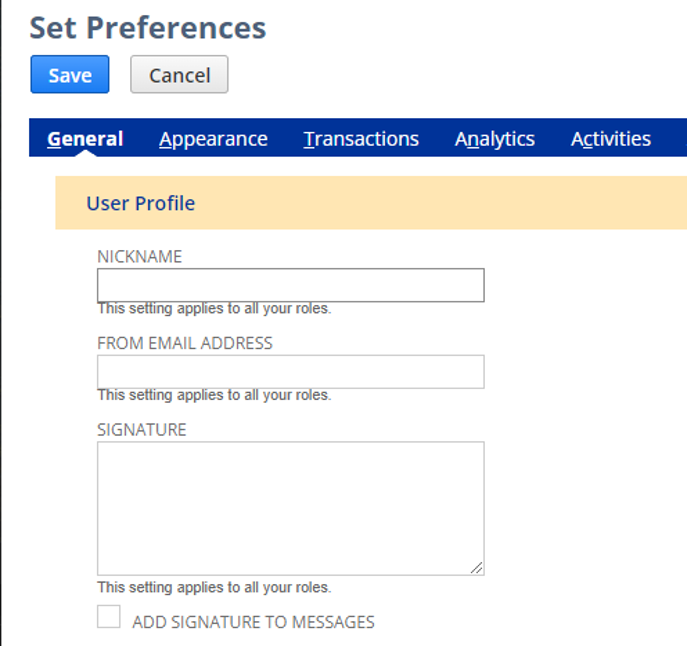
- The Nickname field is what will appear in the From field in emails you send. If you choose not to enter a nickname, the from field will be populated with your login email address.
- The From Email Address will populate in the From Email on all emails and replies sent through NetSuite. If you choose not to populate this field, the email will use your login email address.
- The Signature box is where you can define your default signature using HTML markup. It is important to note that the HTML must be formatted correctly in order to display properly on emails. Double-check your linebreaks, character formatting, and hyperlinks before saving.
- Click Save
2. These three fields will apply to ALL of your assigned roles.
In general preferences, under the general tab, you are also able to craft a signature in HTML markup, allowing you to include line breaks, hyperlinks, character formatting like bold text, and any other special formatting to attach to the end of emails sent out of NetSuite. Additionally, you can check the Add Signature to Messages checkbox, this will automatically attach your custom signature to all faxes and email messages sent from NetSuite. This will also automatically detect if your signature is already attached to an email or fax form to prevent duplication.
Setting up your user profile works as a great branding tool for you and your company while also maintaining consistency throughout all emails and replies. TAC highly recommends configuring the user profile section if your daily activity includes sending out any emails through NetSuite.
How TAC Can Help
These simple customization options can have a significant impact on creating a more user-friendly and personalized NetSuite experience for users at every level. Don’t hesitate to contact us with any questions about tailoring NetSuite to align with your unique business needs. Our dedicated team is here to assist you in seamlessly integrating NetSuite into your operations and making it your own.